

There’s something magical about the way winter greens transform when they meet hot garlic and toasted pine nuts. The kitchen fills with that unmistakable aroma of garlic hitting the pan, creating an instant feeling of warmth even on the coldest winter evening. I’ve been making this Winter Greens with Pine Nuts and Garlic recipe for years now, and it never fails to bring a touch of elegance to my dinner table.
The slight bitterness of the greens balances perfectly with the buttery pine nuts and sharp garlic notes, creating a side dish that’s both nourishing and indulgent. It’s become my go-to when I need something green that doesn’t feel like a compromise. Let me share this simple yet spectacular dish with you.
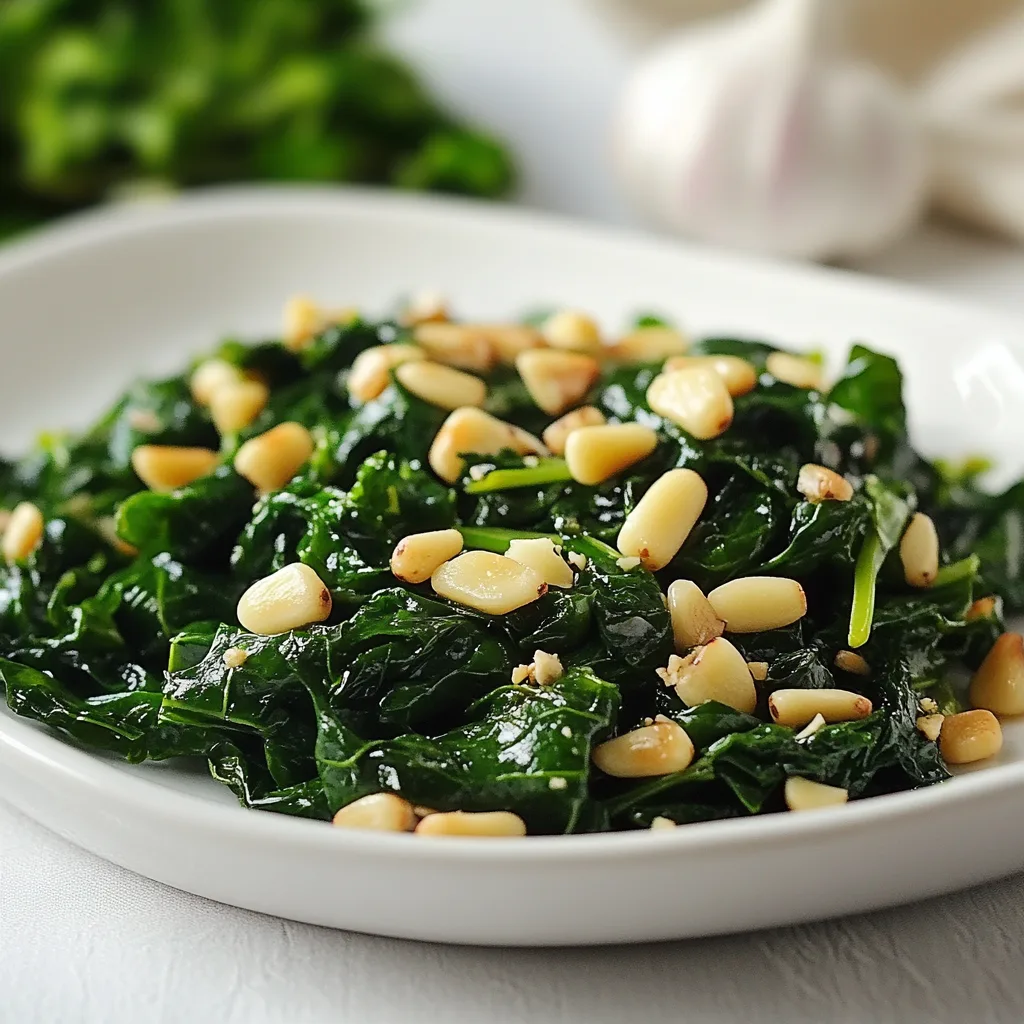
Table of Contents
Recipe
Print
Winter Greens with Pine Nuts and Garlic Recipe | Healthy & Delicious Side Dish
- Prep Time: 10 minutes
- Cook Time: 10 minutes
- Total Time: 20 minutes
- Yield: 4 servings
- Category: Side Dish
- Method: Sautéed
- Cuisine: Mediterranean
- Diet: Vegetarian
Description
These winter greens with pine nuts and garlic make a warm, flavorful, and nutrient-rich side dish perfect for cold-weather meals. Sautéed until tender and finished with toasted pine nuts, this simple dish brings richness, aroma, and comforting seasonal vibes to any dinner table.
Ingredients
6 cups winter greens (kale, Swiss chard, or a mix), chopped
2 tablespoons olive oil
3 cloves garlic, thinly sliced
1/4 cup pine nuts
1/2 teaspoon salt
1/4 teaspoon black pepper
Optional: red pepper flakes, lemon zest, grated Parmesan
Instructions
1. Heat a dry skillet over medium heat and toast pine nuts until golden, about 2–3 minutes. Transfer to a plate.
2. Warm olive oil in the same skillet over medium heat.
3. Add sliced garlic and sauté for 1 minute until fragrant but not browned.
4. Add winter greens and cook, stirring, until wilted and tender, about 5–7 minutes.
5. Season with salt and pepper, adding red pepper flakes if desired.
6. Stir in toasted pine nuts and mix well.
7. Finish with lemon zest or Parmesan before serving, if using.
Notes
Use a blend of kale and Swiss chard for the best flavor and texture.
Add a splash of vegetable broth if greens need help softening.
Perfect alongside roasted meats, pasta, or as a warm salad base.
Why You’ll Love This Winter Greens with Pine Nuts and Garlic
A Nutritional Powerhouse with Flavor to Match
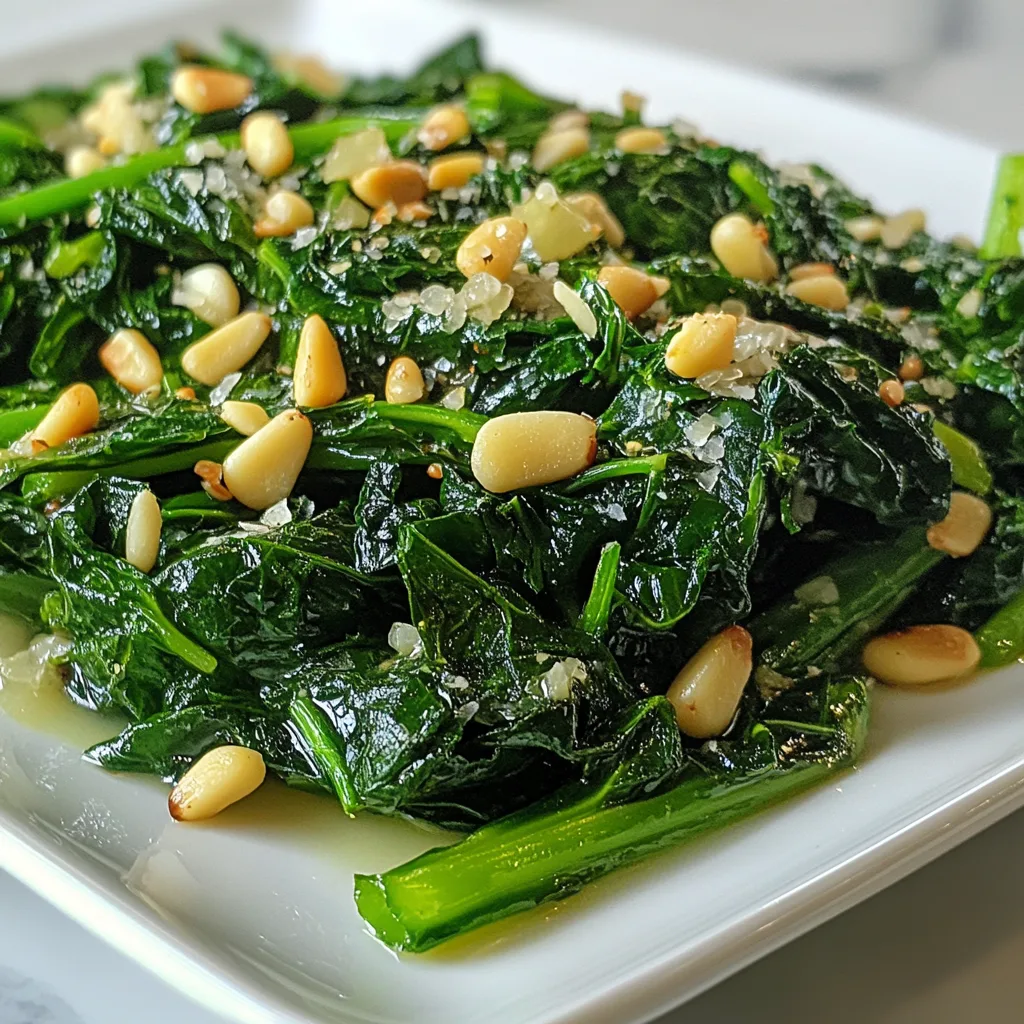
Winter greens aren’t just survivors of the cold season—they’re nutritional champions packed with vitamins A, C, and K, plus minerals like calcium and iron that we especially need during winter months. Unlike summer’s delicate lettuces, these sturdy greens have character and depth. The slight bitterness in kale, collards, or Swiss chard isn’t something to shy away from—it’s what makes them interesting! When you pair them with the rich, buttery flavor of pine nuts and the aromatic punch of garlic, something magical happens. The bitterness mellows, the flavors harmonize, and suddenly you’re not eating vegetables because you should—you’re savoring them because they’re genuinely delicious.
Quick Preparation with Gourmet Results
One of my favorite things about this dish is how it transforms from ingredients to table star in under 15 minutes. On busy weeknights when I’m juggling a million things, I can still pull together these restaurant-worthy greens without breaking a sweat. The process is wonderfully tactile too—feeling the sturdy leaves as you tear them, hearing the sizzle as they hit the hot pan, watching them transform from bulky to silky in minutes.
There’s something so satisfying about the quick metamorphosis that happens right before your eyes. And the payoff is enormous: a side dish that looks like it took far more effort than it actually did. It’s my secret weapon for elevating even the simplest main courses into something special.
Essential Tips & Tricks
Mastering the Greens Selection
The beauty of this recipe lies in its flexibility with greens. During winter, I rotate between kale (lacinato or dinosaur kale is less bitter than curly), Swiss chard (with its colorful stems that add visual appeal), collard greens, and even mustard greens if I want more punch. The key is understanding that different greens have different cooking times. Kale and collards need a bit longer (about 5-7 minutes), while Swiss chard wilts more quickly (3-4 minutes). I always remove tough stems from kale and collards, but keep the colorful chard stems for their texture and visual appeal.
For a truly spectacular result, try mixing two or three different greens together—the varied textures and flavors create a much more interesting dish, similar to how I layer flavors in my Green Beans with Garlic Almonds.
The Art of Toasting Pine Nuts
Pine nuts are the crown jewels of this dish—expensive but worth every penny for their buttery, resinous flavor that can’t be matched. The secret is in how you toast them. Never, ever walk away from pine nuts in a hot pan—they go from perfectly golden to burnt in seconds! I use a dry skillet over medium-low heat, shaking frequently until they’re fragrant and just turning color (about 2-3 minutes). You’ll know they’re ready when the kitchen fills with their toasty aroma.
If you’re watching your budget, walnuts or slivered almonds make good substitutes, though they need a minute longer to toast. For an extra layer of flavor, try adding a tiny splash of good olive oil to the nuts in the last 30 seconds of toasting.
Serving Ideas & Creative Variations
Perfect Pairings for a Complete Meal
These winter greens create the ideal counterpoint to rich main dishes, cutting through heaviness with their slight bitterness and bright flavors. I love serving them alongside a creamy risotto, roasted chicken, or even a hearty pasta. The textural contrast between the silky greens and something more substantial makes each bite more interesting. For a complete winter comfort meal, pair these greens with my Creamy Butternut Squash Sage Gratin and a simple roasted protein.
The greens also work beautifully as a bed for grilled fish or seared scallops, where the juices from the seafood mingle with the garlicky oil coating the greens. Don’t forget good crusty bread on the side—you’ll want something to soak up every last drop of those flavorful oils.
Creative Twists to Keep It Fresh
While the classic combination of winter greens, pine nuts, and garlic is perfect on its own, I love playing with seasonal additions that keep this dish exciting all winter long. A handful of dried cranberries adds sweet-tart pops of color and flavor. Crumbled feta or goat cheese melting slightly into the warm greens brings creamy richness. For a more substantial variation, add cannellini beans or chickpeas to transform it from side dish to light main. A sprinkle of red pepper flakes brings welcome heat on the coldest days. My current favorite twist is adding a tablespoon of balsamic glaze right at the end—the sweet acidity creates the perfect finish.
You can even turn this into a warm salad by tossing with cooked farro or quinoa for a nutrient-dense lunch.
Storage & Troubleshooting Guide
Keeping Leftovers Fresh and Delicious
While these winter greens are at their absolute best straight from the pan, leftovers can still be wonderful with proper handling. Store any remaining greens in an airtight container in the refrigerator for up to three days.
The flavors actually develop nicely overnight, though the greens will soften further. When reheating, use gentle heat in a skillet rather than the microwave—this preserves the texture better and revitalizes the garlic flavor. Add a tiny splash of water if they seem dry, and a fresh drizzle of olive oil just before serving to bring back the glossy finish. If you know you’ll have leftovers, consider slightly undercooking the greens initially so they don’t become too soft when reheated. Pine nuts should be stored separately and added fresh when serving to maintain their crunch.
Solving Common Cooking Challenges
The most common issue with cooking winter greens is ending up with a watery result or greens that are either too tough or too mushy. If your greens release too much water during cooking (especially common with frozen greens), don’t cover the pan—let the moisture evaporate.
For greens that remain tough after the recommended cooking time, add a tablespoon of water and cover the pan for 1-2 minutes to steam them tender. If your garlic burns (which turns it bitter), start over—there’s no saving burnt garlic. To prevent this, add the garlic after the greens have wilted slightly, or use sliced rather than minced garlic, which burns less easily. Finally, if your finished dish lacks flavor, a squeeze of lemon juice and a pinch of flaky sea salt just before serving works wonders.
Frequently Asked Questions
Can I use frozen greens for this Winter Greens with Pine Nuts and Garlic recipe?
Yes! Frozen greens work perfectly. Skip the washing/chopping steps and add them directly to the pan, but cook them a bit longer to evaporate excess moisture. The flavor is nearly identical to fresh greens.
What can I substitute for pine nuts if I have a nut allergy?
Toasted pumpkin seeds or sunflower seeds make excellent nut-free alternatives. They provide similar crunch and toasty flavor, though slightly less richness than pine nuts.
How do I remove the bitterness from winter greens?
A quick blanch in boiling water for 1-2 minutes before sautéing can reduce bitterness. Additionally, adding a tiny pinch of sugar or a splash of balsamic vinegar while cooking helps balance bitter notes.
Can I prepare this dish in advance for a dinner party?
Partially! Cook the greens until almost done and toast the pine nuts separately. Refrigerate the greens, then reheat with a splash of olive oil and add freshly toasted pine nuts just before serving.
How do I know when my greens are perfectly cooked?
Perfectly cooked winter greens should be tender but still have a slight resistance when bitten—never mushy. They’ll turn a deeper, more vibrant green and reduce significantly in volume.
Final Thoughts
This Winter Greens with Pine Nuts and Garlic recipe has become more than just a side dish in my kitchen—it’s a reminder that winter eating doesn’t have to be heavy or boring. There’s something deeply satisfying about transforming humble greens into something so flavorful that even confirmed vegetable skeptics reach for seconds. The combination of earthy greens, buttery pine nuts, and punchy garlic creates a dish that feels both nourishing and indulgent. Whether you’re serving it alongside a holiday roast or as part of a simple weeknight dinner, these greens bring color, nutrition, and incredible flavor to your table. I hope this recipe finds its way into your regular rotation, bringing a little brightness to your winter meals.